Overview
As part of this Challenge, one of the items I tried to tackle first is technology. There are many comic creator/storyboarding tool out there to varying quality, selecting one that suits my need for this challenge was actually quite easy.
After a brief class content review and Google search, I narrowed down my selection to a few tools, then classified them in a Pros-and-Cons list:
| Tool name | Pros | Cons |
| Storyboard that | – Easy to use drag-and-drop templates for creating a comic strip – Pre-made components ready for use – Simplistic in its approach, all components are important and catered towards their own category | – Tool feels “janky”, sometimes the drag-and-drop would not work properly – Fee of 1$ per month |
| Comic Life 3 | – Simple approach, take a picture and turn into comic – Simple to use | – Created comic looks like a picture with filter, not an actual comic strip – Free for 30 days then $14.99 – Could be replaced by smart prompting with AI |
| Canva | – Free – Modern interface and tools | – Not specialized for comic creation – Feels more like Photoshop then a comic maker |
Considering all of these I decided to use Storyboard That, the output of the tools looks similar to an actual Comic Strip in the format I’m hoping to achieve.
Tool showcase
After selecting, I decided to do an exploration of the tool to see what capabilities it has.
Background
On starting a new storyboard, you are provided with 3 panels, and a series of backgrounds, designed specifically for each setting. Applying a background is as easy as dragging and dropping one to the panel:
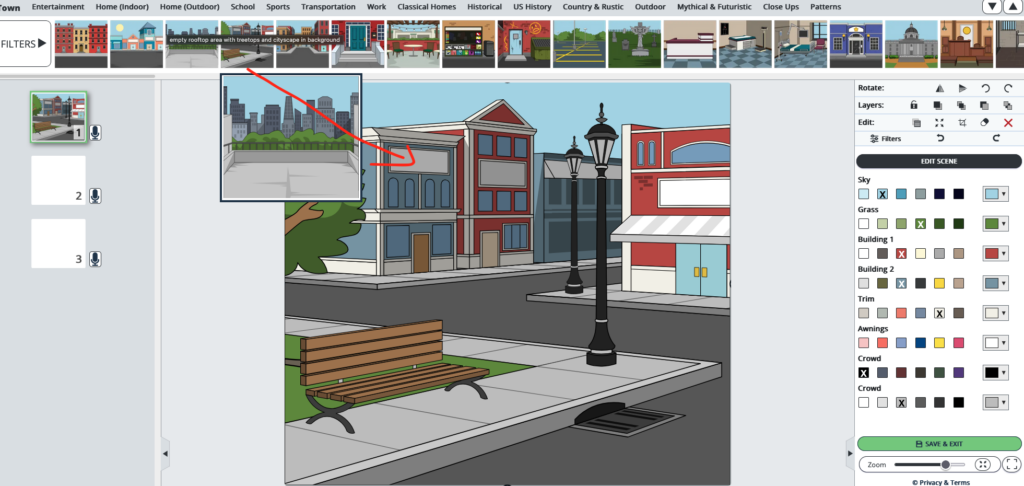
Figure 1: Background drag-and-drop
Characters
Characters follow a similar concept, catered for each situation. Each character can also be further edited in terms of clothing, orientation and facial expression.
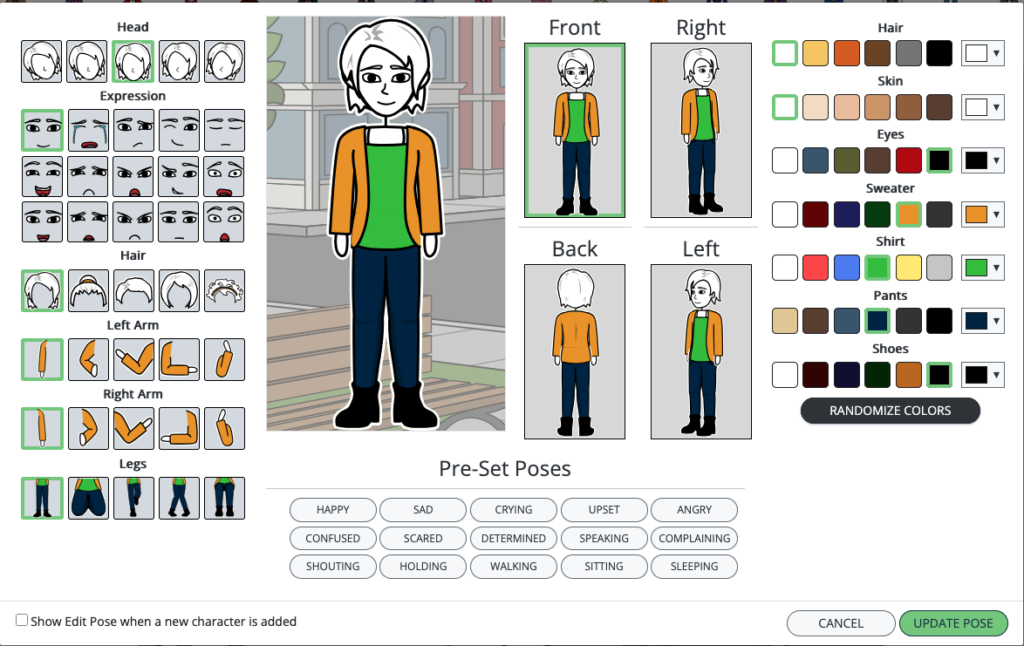
Figure 2: Characters options
Conclusion
With all of these options, I think I’m ready to move on to the next step and turn my prototype to a final design!
Leave a Reply